- Cold process soap making is an eco-friendly way to make DIY soaps using natural ingredients.
- Hot process soap making shortens saponification and enables easier molding and shaping.
- Melt-and-pour method allows for quick and creative customization of colors and scents in soaps.
- Liquid soap making uses potassium hydroxide instead of sodium hydroxide to create a milder product.
- Rebatching soap-making recycles old bars, enabling experimentation with textures and patterns.
Making your own soap at home is a fun, creative project. It’s a great way to use natural ingredients like essential oils and herbs and customize the look and smell of your soap. Plus, it’s an inexpensive and eco-friendly alternative to buying store-bought soaps. Here are five creative ways to make your own soap at home.
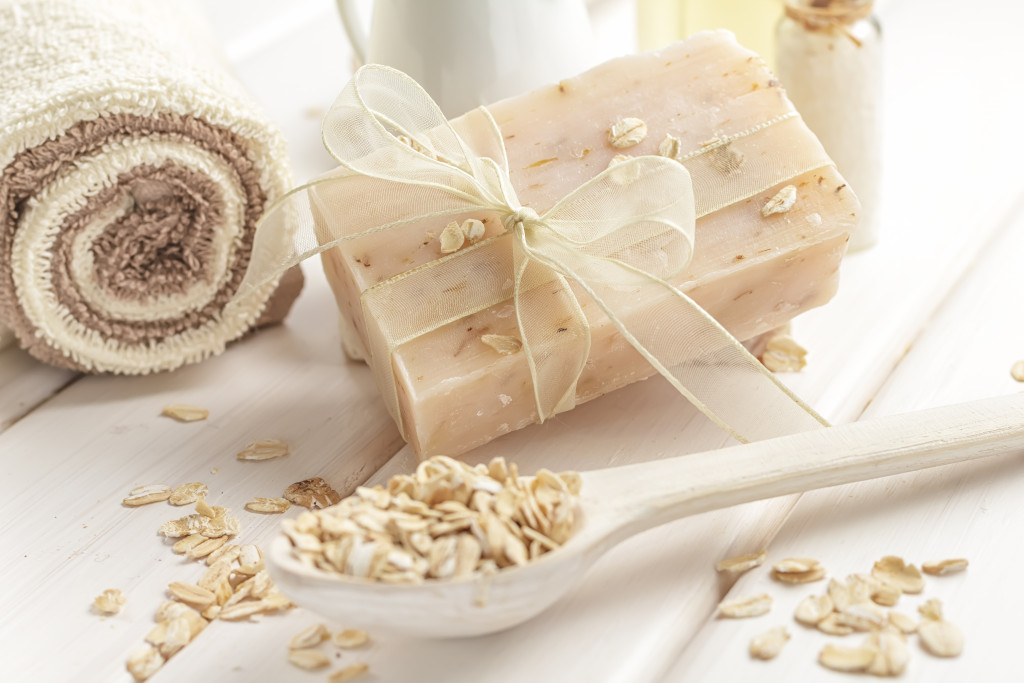
1. Cold Process Soap Making
Cold process soap making is a great way to make DIY soaps at home with all-natural ingredients. All you need are lye, water, fats or oils (like olive or coconut oil), and essential oils for fragrance if desired. Simply mix the lye with the liquids, add the fats or oils, then stir until it becomes a paste-like consistency before pouring it into molds. Once cooled, cut into bars and allow to cure for 4-6 weeks before using.
Environmentally friendly
Making soap using the cold process method is an environmentally friendly way to make your own soap. All the ingredients used are natural and biodegradable, meaning they won’t harm the environment as much as synthetic soaps. Plus, it requires minimal packaging, which helps reduce waste.
Easy to customize
With cold-process soap making, you can also easily customize your soap’s shape, color, and scent. Just add essential oils for a pleasant fragrance, or use herbs and spices like turmeric or rosemary for natural coloring. Other soap-making techniques like liquid hot process soap making may require unique ingredients for color and scent, but with cold process soap making, you can stick to natural ingredients.
2. Hot Process Soap Making

Hot-process soap making is similar to the cold-process method but requires heating up the soap mixture in order to speed up the saponification process (the chemical reaction that takes place when the lye reacts with fats/oils). After heating, it must cool in molds before cutting into bars and curing for 4-6 weeks before use.
Easier to mold and shape
Hot process soaps are also easier for you to mold and shape. Since the mixture is heated up, it results in a more fluid-like consistency that makes it easier to pour into molds for shaping. Plus, since saponification is sped up with heat, you can use your soap bars as soon as they cool down instead of waiting like with cold process soaps.
3. Melt-and-Pour Soap Making
Melt-and-pour soap making is the easiest type of soap making and requires minimal tools and ingredients. It is also the most customizable form of soap making, as you can easily mix in any additives to create unique colored and scented soaps. The beauty of this method is that it allows you to be creative without spending too much time or money — all you need are pre-made glycerin blocks, essential oils, and a few other optional ingredients like colorants or exfoliants for added benefits. Plus, since the soaps harden quickly, you can make your soaps in under an hour.
Soaps made using the melt-and-pour method have a softer texture, as the glycerin blocks used to make them are already partially saponified. As a result, they typically contain fewer natural ingredients and don’t last very long compared to cold-process or hot-process soaps. However, it’s still an easy and convenient way to make your soaps quickly.
4. Liquid Soap Making

Liquid soap making involves using potassium hydroxide instead of sodium hydroxide, which results in a liquid soap instead of a bar soap. This type of soap is great if you struggle with sensitive skin, as it is milder and gentler on the skin than bar soap. Plus, it can easily be used as a body wash or a shampoo.
Making liquid soap requires more ingredients and equipment than other homemade soap-making forms, but the result is worth the effort. Unlike cold-process or hot-process soaps, you’ll need preservatives to ensure your liquid soaps don’t spoil too quickly. Investing in high-quality liquid-filling machines makes making liquid soaps much easier and faster. These filling machines can use gravity, vacuum, or pressure to accurately fill your containers with just the right amount of soap to avoid waste.
5. Rebatching Soap Making
Rebatching soap making is a great way to use your leftover bar soaps or scraps, allowing you to make new soap bars from premade bars. It’s an easy process that involves grating the old soap bars into small pieces, melting them in water, adding lye for saponification, and pouring the mixture into molds before letting it set. This method does not require additional ingredients besides lye, but you can add extra fat or oil for added benefits.
Experiment with textures and patterns
Rebatching soap-making also allows you to experiment with textures and patterns, as you can mix in other ingredients like herbs or spices for texture or pour the mixture into molds for patterned bars. You can even use an old soap bar and add your own essential oils or colors to create an entirely new scent and look.
To Wrap Things Up
Making your own soap at home is fun and a great way to customize the look and smell of your soaps while using natural, eco-friendly ingredients. From cold-process soap making to melt-and-pour and liquid soaps, there are plenty of creative ways to make your own DIY soaps at home. Taking the time to make your soaps also lets you use ingredients tailored to your specific skin type and even helps you save money in the long run.